Calisthenics Workout Plan: A 12-Week Beginner Blueprint That Doesn’t Quit at Week 4
Most options for a calisthenics workout plan end right when things get interesting. They hand you 30 days of push-ups and squats, then wave vaguely toward “harder variations” and leave you to figure out the rest. If you’ve ever finished a month-long plan and thought, “okay… now what?” — this article is the answer to that question.
Here’s what this plan does differently: it runs 12 weeks, tells you exactly when to level up with real benchmarks, includes the deload weeks everyone skips, solves the pull-up problem, and stays honest about what the science says you can expect.
No gym. No equipment required. Just your body, a floor, and — eventually, optionally — something to hang from.
What Calisthenics Can Actually Do (The Honest Version)
Before the plan, let’s set expectations, because most fitness content won’t.
Calisthenics genuinely builds strength. In a 2018 randomized trial at North Dakota State University, moderately trained men did progressive push-up training three days a week for four weeks; their push-up strength and one-rep-max bench press improved just as much as a group doing traditional bench-press training (Kotarsky et al.). An 8-week calisthenics intervention in sedentary men improved push-up performance by about 16% and pull-up performance by nearly 40% compared to controls. And a 6-week bodyweight program in adults with obesity produced roughly 10% strength gains, a 2.2 cm waist reduction, and better cardio fitness.
Here’s the part nobody’s marketing department wants in the headline: in that 4-week push-up trial, muscle thickness didn’t change at all. Strength went up first; visible muscle comes later, and four weeks won’t do it. That’s not a knock on calisthenics — it’s how all resistance training works. Your nervous system learns the movements before your muscles grow. Anyone promising visible abs in 30 days from bodyweight circuits is selling you something.
So the honest promise of this plan: in 12 weeks you’ll be measurably stronger, with better movement quality and a real foundation. You won’t look like a gymnast — they train for years.
How This Calisthenics Workout Plan Works: The Rules
Three rules keep this plan simple and hard to mess up.
Rule 1: Three sessions per week, full body. Monday, Wednesday, Friday — or any three non-consecutive days. Every session hits push, pull, legs, and core. Miss one day and you’ve still trained everything twice that week.
Rule 2: Every exercise has a ladder. You do the version you can currently do for clean reps; hit the benchmark, climb one rung. The ladders are spelled out below.
Rule 3: You test, then you decide. At weeks 4, 8, and 12 you run a simple test day. Hit the benchmarks, move up. Miss them, repeat the phase for two more weeks. This removes the guesswork — the single biggest failure of every competing plan.
Rest 60–90 seconds between sets in Phase 1, 90–120 seconds in Phase 2. Track your reps in a notes app. That’s the whole administrative burden.
Phase 1: Foundations (Weeks 1–4)
The goal: teach your joints, tendons, and nervous system the basic patterns. Every session:
| Movement | Exercise (start here) | Sets × Reps |
|---|---|---|
| Push | Incline push-ups (hands on a sturdy table or counter) | 3 × 8–12 |
| Pull | Towel rows (door-anchored towel, body angled) or table rows | 3 × 8–12 |
| Legs | Bodyweight squats | 3 × 12–15 |
| Hinge | Glute bridges | 3 × 12–15 |
| Hang | Dead hang from a door frame or bar (feet on floor if needed) | 3 × 20–30 sec |
| Core | Dead bugs or knee planks | 3 × 30–45 sec |
Finish with the 3-minute wrist routine below — wrists are the weak link for beginners and nobody warns you. Sessions run 35–45 minutes including a 5-minute warm-up (marching in place, arm circles, leg swings, easy squats).
Week 4 Test Day
Rest two days after your last Phase 1 session, then test:
- 3 sets of 12 incline push-ups with 90 seconds rest → pass
- 3 sets of 12 squats with good depth (hips below knees) → pass
- 30-second dead hang without dropping → pass
- 60-second knee plank → pass
Pass everything? Move to Phase 2. Miss something? Repeat weeks 3–4 once. There’s no shame in this — rushing the foundation is exactly how shoulders and wrists get hurt.
Deload Week (Week 5): The Week Everyone Else Skips
Here’s a secret the fitness industry keeps quiet: tendons adapt slower than muscles. Your muscles might be ready for more by week 5, but your connective tissue isn’t. This is why beginners get elbow and wrist pain around week 6 and quit.
So week 5 is a deload: the same Phase 1 workouts at half volume (2 sets instead of 3). It will feel too easy — that’s the point. A planned easy week keeps you training in week 12; an unplanned injury stops you in week 7.
Pain vs. soreness — know the difference. Muscle soreness (dull, both sides, fades in 48 hours) is normal. Sharp pain, pain in a joint (not the muscle), pain on one side only, or anything that gets worse across sessions is a red flag — stop that exercise and see a professional if it persists. “Push through joint pain” is how beginners turn a six-week problem into a six-month one.
Phase 2: Building (Weeks 6–9)
Same three-day structure, harder rungs:
| Movement | Phase 2 exercise | Sets × Reps |
|---|---|---|
| Push | Knee push-ups → full push-ups (climb as benchmarks allow) | 4 × 8–12 |
| Pull | Scapular pulls + negative pull-ups (see ladder below) | 4 × 5–8 |
| Legs | Split squats (bodyweight) | 3 × 8–10 per leg |
| Hinge | Single-leg glute bridges | 3 × 10 per leg |
| Core | Full plank + hollow-body holds | 3 × 30–60 sec |
Week 8 Test Day
- 3 × 10 full push-ups (chest to a fist’s height off the floor), 90s rest
- 3 × 8 split squats per leg
- 3 controlled negative pull-ups (5-second lowering each)
- 60-second full plank
Pass → Phase 3. Otherwise repeat weeks 7–8.
Deload week 9 follows the same half-volume rule. Yes, again. Your elbows will thank you.
Phase 3: Strength (Weeks 10–12)
Now sessions get more serious — this is where the strength the research describes shows up:
| Movement | Phase 3 exercise | Sets × Reps |
|---|---|---|
| Push | Full push-ups, slow tempo (3 sec down) | 4 × 8–15 |
| Pull | Band-assisted or jumping pull-ups (or continue negatives) | 4 × 5–8 |
| Legs | Bulgarian split squats + jump squats (low volume) | 4 × 8 per leg / 3 × 5 |
| Hinge | Nordic curl negatives (knees padded, slow lowering) | 3 × 5 |
| Core | Hollow-body rocks | 3 × 20–30 sec |
Week 12 Final Test
- Max clean push-ups in one set (most beginners land between 15 and 30 — wherever you land is data, not a grade)
- 1 strict pull-up, or 3 × 5-second negatives
- 3 × 10 Bulgarian split squats per leg
- 90-second plank
Write the numbers down. Retest every 12 weeks to see how far this calisthenics workout plan has taken you.
The First-Pull-Up Ladder: Solving the Problem Nobody Solves
The pull-up is where beginner plans go to die — they list it in week 2 as if you can already do one. The actual pathway, over roughly 8–16 weeks:
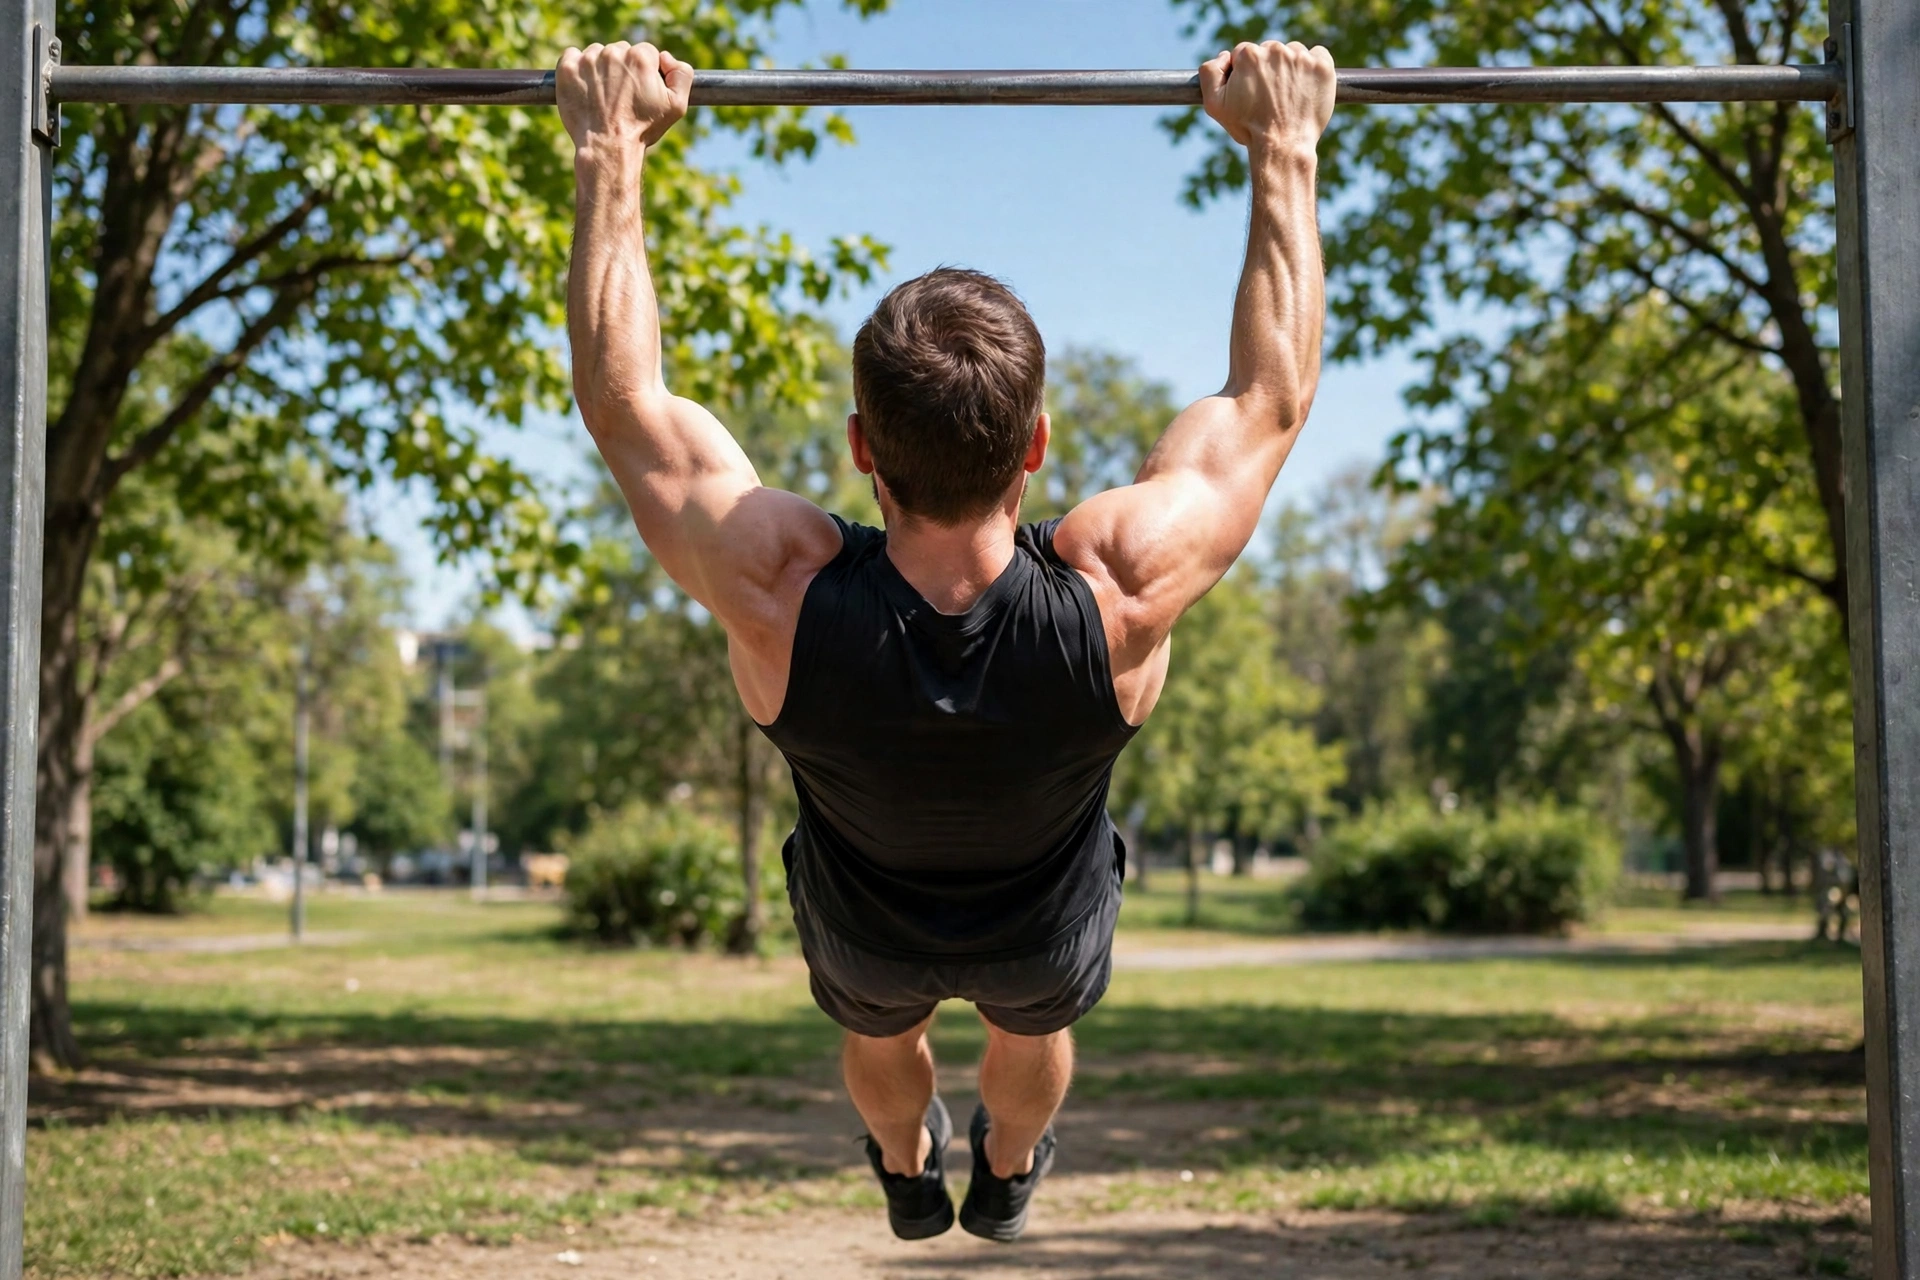
- Dead hang (weeks 1–4): Build to 3 × 45 seconds. This conditions your grip and shoulders — the unglamorous prerequisite.
- Scapular pulls (weeks 3–6): Hang from the bar and pull your shoulder blades down and together without bending your arms. 3 × 8. This teaches the first inch of the pull-up, which is where most people are weakest.
- Negatives (weeks 5–10): Jump (or step) to the top position and lower yourself as slowly as possible — aim for 5 full seconds. 4 × 5. Eccentric training like this is the classic, evidence-backed way to build first-rep strength.
- Band-assisted or jumping pull-ups (weeks 8–12): A looped resistance band under your knee takes off just enough weight. Reduce band thickness over time.
- Your first strict pull-up. It will feel like a magic trick. It isn’t — it’s 10 weeks of patient work.
No bar? A sturdy door-frame pull-up bar costs less than a month of most gym memberships and needs no screws. Until then, towel rows and table rows keep your pulling muscles progressing. Don’t skip pulling work — push-only routines are how shoulder imbalances start.
The 3-Minute Wrist Routine (Do This Every Session)
Beginner calisthenics loads the wrists in ways desk life never did. Three minutes before every session:
- Wrist circles — 20 seconds each direction, fingers interlaced.
- Prayer stretch — palms together, lower hands until you feel a stretch, hold 30 seconds.
- Reverse prayer — backs of hands together, 30 seconds.
- Tabletop rocks — on all fours, gently rock forward and back over your wrists, 30 seconds.
- Finger extensions — spread fingers wide, 20 reps.
If push-ups hurt your wrists, do them on your fists or with push-up handles — that’s a modification, not a failure.
The Most Common Form Faults (And the One-Cue Fix for Each)
- Push-up, sagging hips → squeeze your glutes. Hips rise instantly.
- Squat, knees caving inward → think “spread the floor apart with your feet.” Knees track over toes.
- Plank, butt in the air → tuck your pelvis slightly, like a dog tucking its tail. One adjustment, whole body straightens.
- Row, shrugging shoulders → before you pull, set your shoulders “down and back,” away from your ears.
- Dead hang, swinging → cross your ankles and squeeze your abs lightly. Stillness is the exercise.
Eating to Support the Plan (Without Overthinking It)
You don’t need a meal plan — just enough protein and food. A large meta-analysis found benefits topped out around 1.6 grams of protein per kilogram of body weight per day — about 120 grams for a 75 kg (165 lb) person, reachable with normal meals. More than that didn’t add muscle (Morton et al.).
Sleep 7–9 hours. Drink water. That’s the nutrition section — the training is the star here.
If you ever want to add barbell work alongside this, our beginner’s strength training guide pairs well, and the mechanics of progressive overload explain why the ladders in this plan work the way they do.
Frequently Asked Questions
Can a complete beginner do calisthenics?
Yes — that’s exactly who this plan is for. Phase 1 starts with incline push-ups, assisted rows, and supported hangs, which are manageable for most healthy adults. The test-day benchmarks make sure you only advance when your body is ready. If you have a joint condition, injury history, or a medical condition, check with your doctor or a physical therapist first.
How long until I see results from a calisthenics workout plan?
Strength improves first — research shows measurable strength gains in as little as 4 weeks of progressive push-up training. Visible muscle changes take longer, typically 8–12+ weeks of consistent training plus adequate protein. Anyone promising a transformed physique in 30 days is exaggerating.
Do I need a pull-up bar for calisthenics?
Not at first. Weeks 1–4 use towel or table rows for pulling work. A doorway pull-up bar becomes useful around Phase 2 for hangs and negatives, and it’s inexpensive. Until then, rows keep you progressing without one.
Is calisthenics enough for leg training?
For beginners, absolutely — squats, split squats, and hinge work build real leg strength. Advanced trainees eventually find bodyweight legs limiting compared to weighted options, but that’s a year-two problem, not a week-one problem.
How is calisthenics different from regular weight training?
The resistance comes from your body and leverage instead of external weights, and progression happens by changing the exercise variation rather than adding plates. Research shows progressive calisthenics builds upper-body strength comparably to bench-press training over the same period. The underlying principle — progressive overload — is identical.
Written by the HealthRovia editorial team. For general information only — not medical advice.