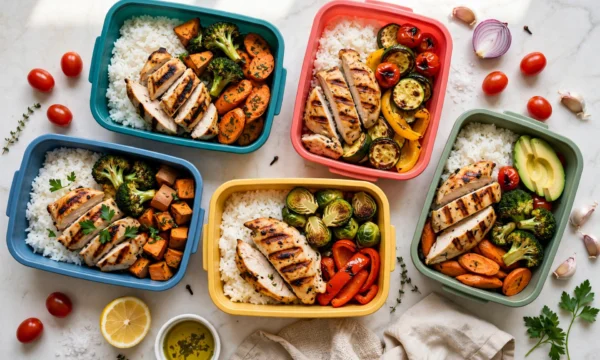
You’ve probably seen the photos: a full week of neat glass containers lined up like soldiers, each one packed with colorful food. It looks satisfying, maybe a little intimidating. And if you’ve ever wondered how to start meal prepping without turning your Sunday into a second job, this guide is for you.
Here’s the honest version nobody tells beginners: meal prepping isn’t about cooking 21 perfect meals in one exhausting marathon. It’s about buying yourself time and better choices during the week — with one focused session, a short grocery list, and a fridge that actually helps you instead of judging you.
And it’s not just a social media trend. In a study of more than 40,000 adults published in the International Journal of Behavioral Nutrition and Physical Activity, people who planned their meals at least occasionally ate a more varied, higher-quality diet — and women who planned meals had 21% lower odds of obesity than those who didn’t. Planning ahead genuinely changes what ends up on your plate.
So let’s learn how to start meal prepping properly — with real numbers, a real first-session plan, and the food-safety rules that keep it all safe.
Week 1 by the numbers: what it actually costs and saves
Every guide claims meal prep “saves time and money.” Almost none shows the math. Let’s fix that.
The cost anchor. The USDA’s Thrifty Food Plan — its official estimate of what a nutritious diet costs — put a healthy diet at about $835 per month for a family of four in its 2021 revision. That works out to roughly $7 per person per day, or about $49 per person per week. That’s your reference point: a full week of home-cooked food can cost less than two restaurant lunches.
A realistic beginner Week 1. For one person’s first prep week — five workday lunches plus four dinners — expect roughly $50–$70 in groceries at typical US prices (chicken thighs, rice, frozen vegetables, eggs, oats, a few fresh vegetables, and basic seasonings). Your cost per meal lands around $4–$6. Compare that to $12–$18 for takeout, and the savings are obvious without needing a spreadsheet.
The time math. A first session takes about 90 minutes and produces 9–10 meals. That’s roughly 9–10 minutes of work per meal — versus 30–45 minutes if you cooked each one separately during the week. You also reclaim the “what’s for dinner” deliberation, which honestly costs more mental energy than the cooking does.
Your first Sunday: the 90-minute session blueprint
Forget elaborate plans. Your first session has one job: prove to yourself this is doable. Here’s a minute-by-minute plan for a true beginner.
What you’ll make: 5 lunches (chicken + rice + roasted vegetables) and 4 dinners (turkey chili that doubles as lunch backup). That’s 9 meals from one session.
The grocery list (short on purpose): 2.5 lbs chicken thighs, 1.5 lbs ground turkey, 2 cups dry rice, 1 large bag frozen mixed vegetables, 2 bell peppers, 1 onion, 1 can crushed tomatoes, 1 can kidney beans, chili seasoning, olive oil, salt, pepper, garlic powder.
The 90-minute order of operations:
- Minutes 0–10: Preheat the oven to 425°F. Put the rice on to cook. While the oven heats, season the chicken thighs with oil, salt, pepper, and garlic powder.
- Minutes 10–15: Chicken goes in the oven. Start browning the ground turkey in a large pot or Dutch oven.
- Minutes 15–30: Chop the onion, bell peppers, and any fresh vegetables while the turkey browns. When the turkey is cooked through, add the crushed tomatoes, beans, chili seasoning, and a cup of water. Bring to a simmer.
- Minutes 30–45: The rice is done — fluff it and spread it on a tray to cool (spreading it out cools it faster, which matters for food safety). Toss the frozen vegetables with a little oil and salt; when the chicken comes out at minute 45, the vegetables go in.
- Minutes 45–60: Pull the chicken, let it rest. Stir the chili. Start portioning: divide rice into five containers.
- Minutes 60–80: Slice the chicken and add it to the rice containers. Add roasted vegetables. Portion the chili into four containers. Everything goes into the fridge — never leave cooked food out longer than two hours.
- Minutes 80–90: Wash up while everything cools in the fridge. Done. Nine meals.
The golden rule of session order: oven first, stovetop second, chopping in the gaps. The oven does the heavy lifting while you do everything else. That’s the entire “secret” of efficient prep.
The storage chart: how long your food actually lasts
This is where most beginner guides get vague — and where food safety actually matters. These numbers come from USDA cold-storage guidance:
Cooked chicken, turkey, beef, pork — fridge: 3–4 days | freezer: 2–4 months
Soups, stews, chili — fridge: 3–4 days | freezer: 2–3 months
Cooked rice, pasta, grains — fridge: 3–4 days | freezer: 1–2 months
Cooked fish — fridge: 3–4 days | freezer: 4–6 months
Hard-boiled eggs — fridge: 1 week | do not freeze
Roasted vegetables — fridge: 3–4 days | freezer: 8–12 months
Three rules cover almost everything:
- The 2-hour rule. Refrigerate cooked food within two hours (one hour if it’s above 90°F outside). USDA research found that 76% of people wrongly wait for food to cool to room temperature first — you don’t need to. Get it into shallow containers and into the fridge, even if it’s still steaming.
- The 4-day ceiling. Eat refrigerated prepped meals within four days, or freeze them. In a USDA study, 31% of people said they’d eat leftovers kept longer than four days — that’s exactly how food poisoning happens, since spoilage bacteria don’t always change how food smells or tastes.
- Reheat to 165°F. When reheating, make sure leftovers reach 165°F measured with a food thermometer, and bring soups and sauces to a rolling boil. It’s safe to reheat frozen leftovers directly without thawing — it just takes longer.
When in doubt, the USDA’s free FoodKeeper app has storage times for more than 600 foods. Bookmark it; it’s the fastest way to answer “is this still good?”
What preps well — and what turns to mush
Not everything belongs in a prep container. Foods that hold up for days: chicken thighs, ground meats, rice, quinoa, roasted root vegetables, broccoli, chili, stews, lentils, hard-boiled eggs, and sturdy sauces.
Foods that go soggy or sad: dressed salads (pack dressing separately), fried foods (they steam themselves soft), fresh berries, sliced avocado (browns within hours), and delicate herbs (add fresh at serving time).
The anti-soggy packing method: grains on the bottom, protein in the middle, vegetables on top, sauce or dressing in a separate small container. When you reheat, everything steams evenly and nothing turns to mush.
Adapting it to your real life
Tiny kitchen or dorm, no oven: You don’t need an oven. A rice cooker (or one pot), a single skillet, and a microwave cover 90% of beginner prep. Cook grains in the rice cooker, protein in the skillet, and steam frozen vegetables in the microwave. Rotisserie chicken from the store is a legitimate shortcut — dietitians recommend it.
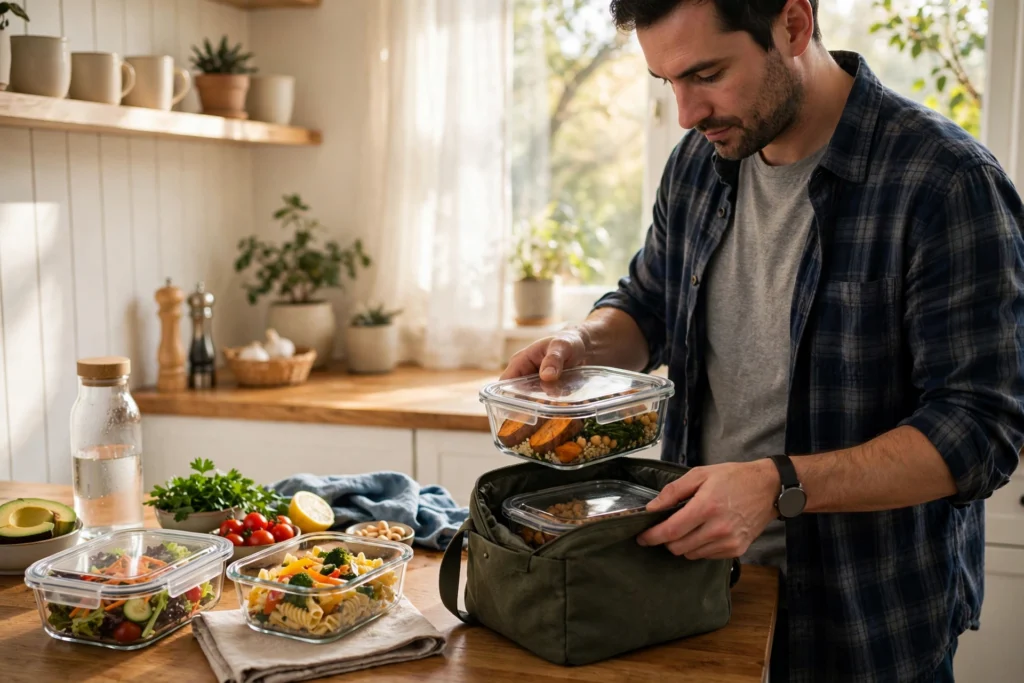
Minimal equipment: You need five matching containers with lids (glass lasts longer; BPA-free plastic is lighter), one sheet pan, one large pot, a knife, and a cutting board. That’s the whole starter kit.
Different eating patterns: The formula stays the same — Protein + Grain + Vegetable — you just swap the parts. High-protein: double the protein portion, use Greek yogurt-based sauces. Vegetarian: lentils, chickpeas, tofu, and eggs as proteins. Lower-sodium: season with herbs, citrus, and garlic instead of salt-heavy sauces; rinse canned beans.
If you want plant-based ideas specifically, our vegan meal prep ideas collection is built for this exact system — and if you’re planning for a whole household, our family meal plans guide scales the same 90-minute session up for four.
For ready-made inspiration, our healthy dinner recipes for two collection offers nine 30-minute weeknight dinners with real nutrition numbers and cost per serving. For even faster weeknight cooking, these 10 healthy air fryer recipes list honest total times and real nutrition numbers.
Beginner mistakes that quietly ruin the week
- Prepping too much variety. Five different recipes in one session is how Sundays get ruined. Start with two recipes, maximum.
- Skipping the labels. A piece of tape with the date takes five seconds and prevents the “is this from Sunday or last Sunday?” mystery.
- Prepping foods you don’t actually like. If you hate reheated chicken breast, don’t prep chicken breast. Prep thighs, or chili, or grain bowls — whatever you’ll genuinely eat on Thursday.
- Forgetting a “use or freeze” day. Pick one weekday (Wednesday works) to move anything you won’t eat by Friday into the freezer.
How to start meal prepping in just 30 minutes
If 90 minutes still feels like a lot, do the 30-minute version: cook a big pot of rice, roast one tray of chicken and vegetables, and portion four lunches. That’s it. You’ll still save hours during the week, and you’ll learn the rhythm without the overwhelm. Next week, add the chili. The week after, you’re the person with the satisfying fridge photo — except yours will be real.
Frequently asked questions
How long does meal prepping take for a beginner?
Plan on about 90 minutes for your first full session covering 9–10 meals. After two or three weeks, most people get it down to 60–75 minutes as the order of operations becomes automatic.
Is meal prepping actually cheaper than eating out?
Yes, substantially. A beginner’s prep week typically costs $50–$70 in groceries for 9–10 meals ($4–$6 per meal), versus $12–$18 per takeout meal. The USDA’s Thrifty Food Plan estimates a nutritious diet at roughly $7 per person per day.
How long does meal-prepped food last in the fridge?
Most cooked meats, grains, soups, and roasted vegetables last 3–4 days refrigerated at 40°F or below, per USDA guidance. Hard-boiled eggs last a week. Anything you won’t eat within four days should go in the freezer.
What containers are best for meal prep?
Glass containers with locking lids last the longest and reheat most evenly; BPA-free plastic is lighter and cheaper. Either way, use containers that are microwave-safe, airtight, and roughly the same size so they stack neatly.
Can you meal prep without an oven?
Absolutely. A rice cooker or single pot for grains, one skillet for protein, and a microwave for frozen vegetables cover nearly all beginner prep. Store-bought rotisserie chicken is a widely recommended shortcut.
Written by the HealthRovia editorial team. For general information only — not medical advice.