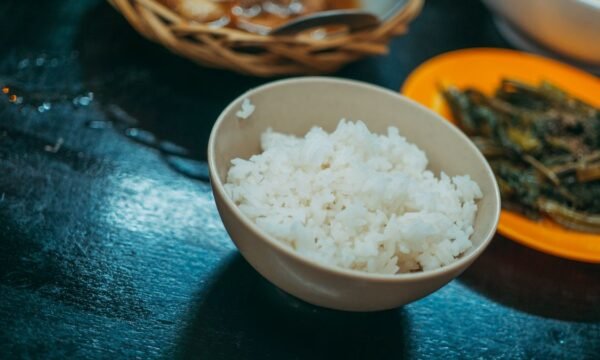
Here’s the thing about rice: it’s supposed to be the easy part of dinner. And yet somehow it ends up gummy, crunchy, scorched to the bottom of the pot — or all three at once.
The Instant Pot fixes that. Once you know the right water ratio and cooking time for each type of rice, it turns out perfect, fluffy rice every single time, with zero babysitting. No watching the pot, no lifting the lid to peek, no boil-overs on your stovetop.
I’ve made rice in my Instant Pot hundreds of times — weeknight dinners, meal prep Sundays, dinner parties where the rice absolutely had to behave. This guide has everything I wish someone had told me on day one: exact ratios and times for white, brown, basmati, and jasmine rice, a simple step-by-step method, fixes for the three most common problems, and safe storage rules.
Why Instant Pot Rice Beats the Stovetop
A sealed pressure cooker is basically a rice cheat code. Here’s why it wins:
No evaporation guessing. On the stovetop, how much water boils away depends on your pot and burner. In the Instant Pot, the sealed environment traps nearly all the steam, so the rice-to-water ratio is exact and repeatable.
Hands-off cooking. Once the lid is locked, you can walk away. Make the rest of dinner, help with homework, fold laundry. The pot beeps when it’s done and switches to Keep Warm.
Faster for brown rice. Stovetop brown rice takes 45–50 minutes. In the Instant Pot it’s about 22 minutes of cook time — and you don’t have to watch it.
One pot, less cleanup. No second saucepan, no starchy water boiled over your burner. Just the inner pot, which rinses clean.
If you’re new to pressure cooking in general, our beginner-friendly guide on how to use a pressure cooker walks through the parts, the safety basics, and your first water test — worth a read before you cook anything under pressure.
Instant Pot Rice Water Ratios and Cooking Times
This is the part to bookmark. All times are at high pressure, followed by a 10-minute natural pressure release (let the pot sit undisturbed for 10 minutes after cooking, then release any remaining steam manually).
| Rice type | Rice : Water | Cook time (high pressure) | Release |
|---|---|---|---|
| White long-grain | 1 : 1 | 4 minutes | 10-min natural |
| Jasmine | 1 : 1 | 3 minutes | 10-min natural |
| Basmati | 1 : 1 | 6 minutes | 10-min natural |
| Brown (long or short grain) | 1 : 1.25 | 22 minutes | 10-min natural |
| Wild rice blend | 1 : 1.5 | 28 minutes | Full natural release |
A few notes on the table:
- Measure rice and water with the same cup. It doesn’t matter if it’s a measuring cup, a mug, or the little rice cup that came with your pot — what matters is the ratio.
- Rinsing matters more than you think. Rinse rice in a fine-mesh strainer under cold water until the water runs mostly clear. This washes off excess surface starch, which is the number one cause of gummy rice. For jasmine and basmati, don’t skip it.
- The “Rice” button is optional. The Rice smart program is calibrated for white rice and cooks at low pressure for about 12 minutes. It works fine for plain white rice, but for every other type — and for more control — use Manual/Pressure Cook with the times above. Instant Pot’s own recipes, like their tomato rice, use the Rice button for white rice, which tells you it’s a convenience feature, not a requirement.
- Don’t double the time when you double the rice. The cook time stays the same whether you’re making 1 cup or 3. The pot just takes longer to come to pressure.
How to Make Instant Pot Rice: Step by Step
Let’s cook 2 cups of white rice — about 4 servings as a side. You’ll need: rice, water, a pinch of salt (optional), and a teaspoon of oil or butter (optional, but it keeps grains separate).
- Rinse the rice. Place 2 cups of rice in a fine-mesh strainer and rinse under cold running water, swishing with your hand, until the water runs mostly clear. Shake off the excess water.
- Add rice and water to the pot. Put the rinsed rice in the inner pot. Add 2 cups of water (1:1 ratio), a pinch of salt, and a teaspoon of oil or butter if you like. Give it one gentle stir to level the rice — every grain should be under water.
- Lock the lid and seal the vent. Close the lid until it clicks. Turn the steam release handle to Sealing (on newer models this happens automatically).
- Pressure cook. Press Pressure Cook (or Manual), make sure it’s on High, and set the timer: 4 minutes for white rice (or the time from the table for your rice type).
- Wait through the 10-minute natural release. When the timer ends, the pot will beep and start counting up. Leave it alone for 10 minutes — this is when the rice finishes cooking and absorbs the last of the steam. This step is what separates fluffy rice from wet rice.
- Release remaining pressure and fluff. After 10 minutes, carefully turn the vent to Venting to release any leftover steam. Open the lid away from your face, and fluff the rice gently with a fork or rice paddle. Let it sit open for a minute or two so excess moisture escapes.
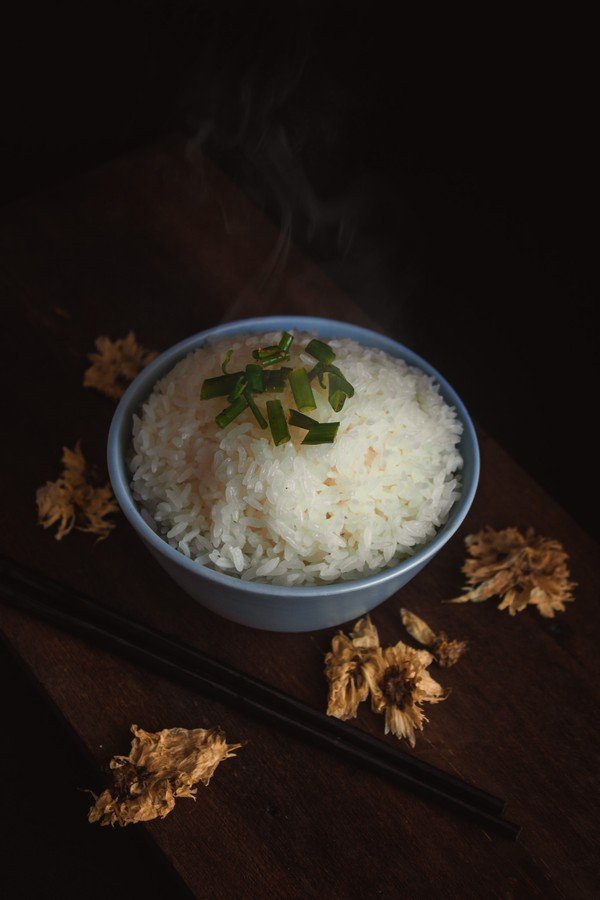
That’s it. Perfect rice, and you barely did anything.
Troubleshooting: Burn Notice, Mushy Rice, and Undercooked Grains
Three things go wrong with Instant Pot rice, and all three are fixable.
The dreaded Burn notice
The Burn warning means the pot’s sensors detect scorching on the bottom — usually too little thin liquid or starchy residue stuck to the base. For plain rice it almost always means one of these:
- Not enough water. Double-check your ratio. Even a quarter cup short can trigger it.
- Rice stuck to the bottom before sealing. After adding rice and water, stir once to make sure no dry grains are sitting on the bare metal.
- Leftover residue. If you sautéed something in the pot first, deglaze: pour in the water and scrape the bottom with a wooden spoon until it’s clean before adding rice.
If you get the Burn notice mid-cook, press Cancel, release the pressure, and check. Often the rice on top is fine — transfer what isn’t scorched to another dish rather than stirring the burnt layer through.
Mushy, gummy rice
- Too much water. The most common cause. Stick to the ratios in the table — remember, almost no water evaporates under pressure, unlike the stovetop.
- Skipped the rinse. Surface starch turns to glue. Rinse until the water runs clear.
- Quick-released too fast. Venting immediately blasts the rice with violent steam and can make the texture gummy. The 10-minute natural release isn’t optional.
- Left it on Keep Warm for an hour. Rice keeps steaming on Keep Warm. Serve it within 20–30 minutes, or transfer leftovers to the fridge.
Crunchy or undercooked rice
- Too little water — or you eyeballed it. Measure.
- Opened the lid too early. If you quick-released and the rice is still firm, just put the lid back on and let it sit on Keep Warm for 5–10 minutes. The residual heat often finishes the job.
- Old rice. Rice that’s been sitting in your pantry for a year or more can need a splash more water. If your usual ratio suddenly fails, add 2 tablespoons extra per cup next time.
Easy Flavor Variations
Plain rice is a blank canvas. Try these — they all use the same method, just with the liquid or add-ins swapped:
- Coconut rice: Replace half the water with full-fat coconut milk. Add a pinch of salt. Amazing with stir-fries.
- Garlic butter rice: Sauté 3 minced garlic cloves in a tablespoon of butter using the Sauté function until fragrant (then deglaze!), add rice and water, and cook as usual.
- Lime cilantro rice: Cook plain jasmine rice, then toss with the juice of 1 lime, a handful of chopped cilantro, and a drizzle of olive oil.
- Broth rice: Swap the water for chicken or vegetable broth — instant savory depth, no extra work.
These variations pair beautifully with slow-cooked mains — if you haven’t tried it yet, our guide on how to use a slow cooker is full of set-it-and-forget-it dinners that love a bed of fluffy rice underneath.
Storing and Reheating Rice Safely
Rice is one of those foods with a food-safety catch most people don’t know about: uncooked rice can carry spores of Bacillus cereus, a bacterium whose spores survive cooking. If cooked rice sits at room temperature too long, those spores can grow and produce toxins that reheating won’t destroy.
Cool it fast. Spread leftover rice in a shallow container so it cools quickly, and get it into the refrigerator within 2 hours of cooking (within 1 hour if your kitchen is above 90°F). Never leave rice in the turned-off Instant Pot overnight. The USDA’s Food Safety and Inspection Service lays out the full rules on their leftovers and food safety page.
Refrigerate 3–4 days. Cooked rice keeps in an airtight container in the fridge for 3 to 4 days. For longer storage, freeze it in portions — press freezer bags flat and they stack neatly.
Reheat to steaming hot. The USDA recommends reheating leftovers to 165°F. Sprinkle a tablespoon of water over each cup of rice, cover, and microwave until steaming throughout, stirring once halfway. The added water rehydrates the grains so they taste freshly cooked.
Only reheat once. Reheat only the portion you’re going to eat, and toss anything that’s been sitting out too long. When in doubt, throw it out.
Instant Pot Rice for Meal Prep
If you cook rice more than twice a week, batch-cooking instant pot rice on Sunday is one of the highest-return habits in your kitchen. A single 10-minute session (plus pressurizing time) gives you fluffy rice for grain bowls, fried rice, burritos, and soups all week — no extra cooking, no takeout temptation.
The method is the same as above: rinse, a 1:1 ratio, 4 minutes at high pressure for white rice, and a 10-minute natural release. The only difference is scale — cook 3 cups dry and portion it into containers once cooled. Kept refrigerated and reheated properly, your instant pot rice stays fresh for 3–4 days, exactly as the storage guidelines above describe.
Frequently Asked Questions
Can I cook brown rice and white rice together in the Instant Pot?
Not really — they need very different cook times (4 minutes vs. 22 minutes). Cooked together, the white rice turns to mush before the brown rice is done. Cook them separately.
Do I have to rinse rice before cooking it in the Instant Pot?
You don’t have to, but you should. Rinsing removes excess surface starch, which is the main reason rice turns out gummy or sticky. It takes 30 seconds and makes a noticeable difference, especially for jasmine and basmati.
Why is there a layer of water on top of my rice?
That’s usually too much water or a skipped natural release. Measure with the ratios in the table and give the full 10-minute natural release. If it happens, fluff the rice and rest it with the lid off for a few minutes.
You can for plain white rice — the Rice program is calibrated for it and works fine. But it cooks at low pressure on a fixed cycle, so it’s not ideal for brown, wild, or mixed rice. For full control over every rice type, Manual/Pressure Cook with the times in this guide is the better habit.
How much rice does 1 cup of dry rice make?
One cup of dry white rice makes about 3 cups cooked. For brown rice it’s roughly the same. A good rule of thumb: 1 cup dry feeds 3–4 people as a side dish, or 2 as a main-dish base (think rice bowls).
Can I use instant pot rice for fried rice?
Yes — day-old instant pot rice is actually ideal for fried rice. Cold, dry grains fry up crisp instead of clumping. Spread freshly cooked rice on a tray, refrigerate uncovered for a few hours or overnight, then fry as usual.
How much instant pot rice should I cook for meal prep?
For one person eating rice 3–4 times a week, 2 cups dry (about 6 cups cooked) is a good batch. Cook it, cool it fast, and refrigerate in portioned containers — your instant pot rice is then ready to reheat all week.
A Quick Note
This guide is for general cooking information and enjoyment, not medical or professional food-safety advice beyond the official sources linked above. If you have questions about food safety for vulnerable groups (pregnant people, young children, older adults, or anyone immunocompromised), check with your doctor — and always follow the USDA’s current food safety guidance. Happy cooking!